Related Industry Knowledge
Measuring method of machining accuracy of precision parts
May 28, 2022 View: 1167
Precision parts processing can be divided into measurement and relative measurement according to whether the reading value of the measuring instrument directly represents the value of the measured size.
Absolute measurement: The reading value directly represents the size of the measured size, such as measuring with a vernier caliper.
Relative measurement: The reading value only represents the deviation of the measured dimension from the standard quantity. If a comparator is used to measure the diameter of the shaft, the zero position of the instrument should be adjusted with the gauge block before the measurement. The measured value is the difference between the diameter of the side shaft and the size of the gauge block and is a relative measurement. Generally speaking, the relative measurement accuracy is higher, but the measurement is more troublesome.
Precision parts processing is divided into contact measurement and non-contact measurement according to whether the measured surface is in contact with the measuring head of the measuring instrument.
Contact measurement: The measuring head is in contact with the contacted surface and has precise measurement force. Such as measuring parts with a micrometer.
Non-contact measurement: The measuring head is not in contact with the surface of the test piece, and the non-contact measurement can avoid the influence of the measurement force on the measurement results. Such as projection method, light wave interference method, etc.
Precision parts processing can be divided into direct measurement and indirect measurement according to whether the measurement parameters are directly measured.
Direct measurement: directly measure the measured parameter to obtain the measured size. For example, use calipers and comparators to measure. Indirect measurement: measure the geometric parameters related to the measured size, and obtain the measured size through calculation.
Obviously, direct measurement is more intuitive for part processing, while indirect measurement is more troublesome. Generally, when the measurement size or direct measurement cannot meet the accuracy requirements, indirect measurement has to be used.
www.junlygroup.com
You Might Also Like
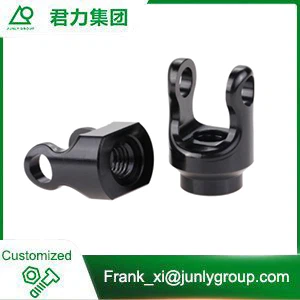
Aluminum Alloy CNC Machining Parts For Medical Devices
Learn More
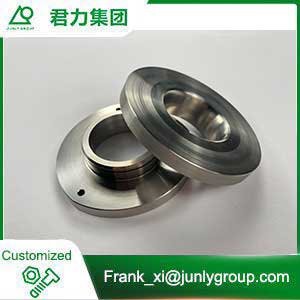
Flange Accessories
Learn More
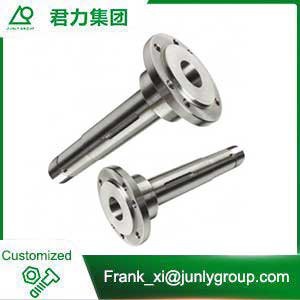
Stainless Steel Machined Parts
Learn More
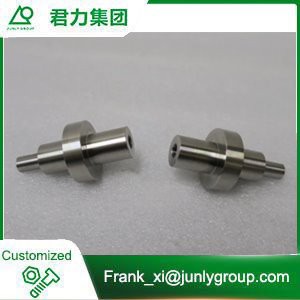
High Precision CNC Machined Lathe Medical Part
Learn More
Precision Machined Parts
Learn More
Hex Socket Button Head Screws
Learn More
Send Inquiry
Copyright © SIP Junly Industrial Precision Co., Ltd. All Rights Reserved.